
How to Fix Garage Door Sensor Faults: Read the Lights First
The short answer
A sensor pair fails for a short and rather boring list of reasons, and a filmed lens or a knocked bracket sits at the top of it. Read the small light on each eye before you loosen anything, then call Century Garage Door Service at 833-435-4540.
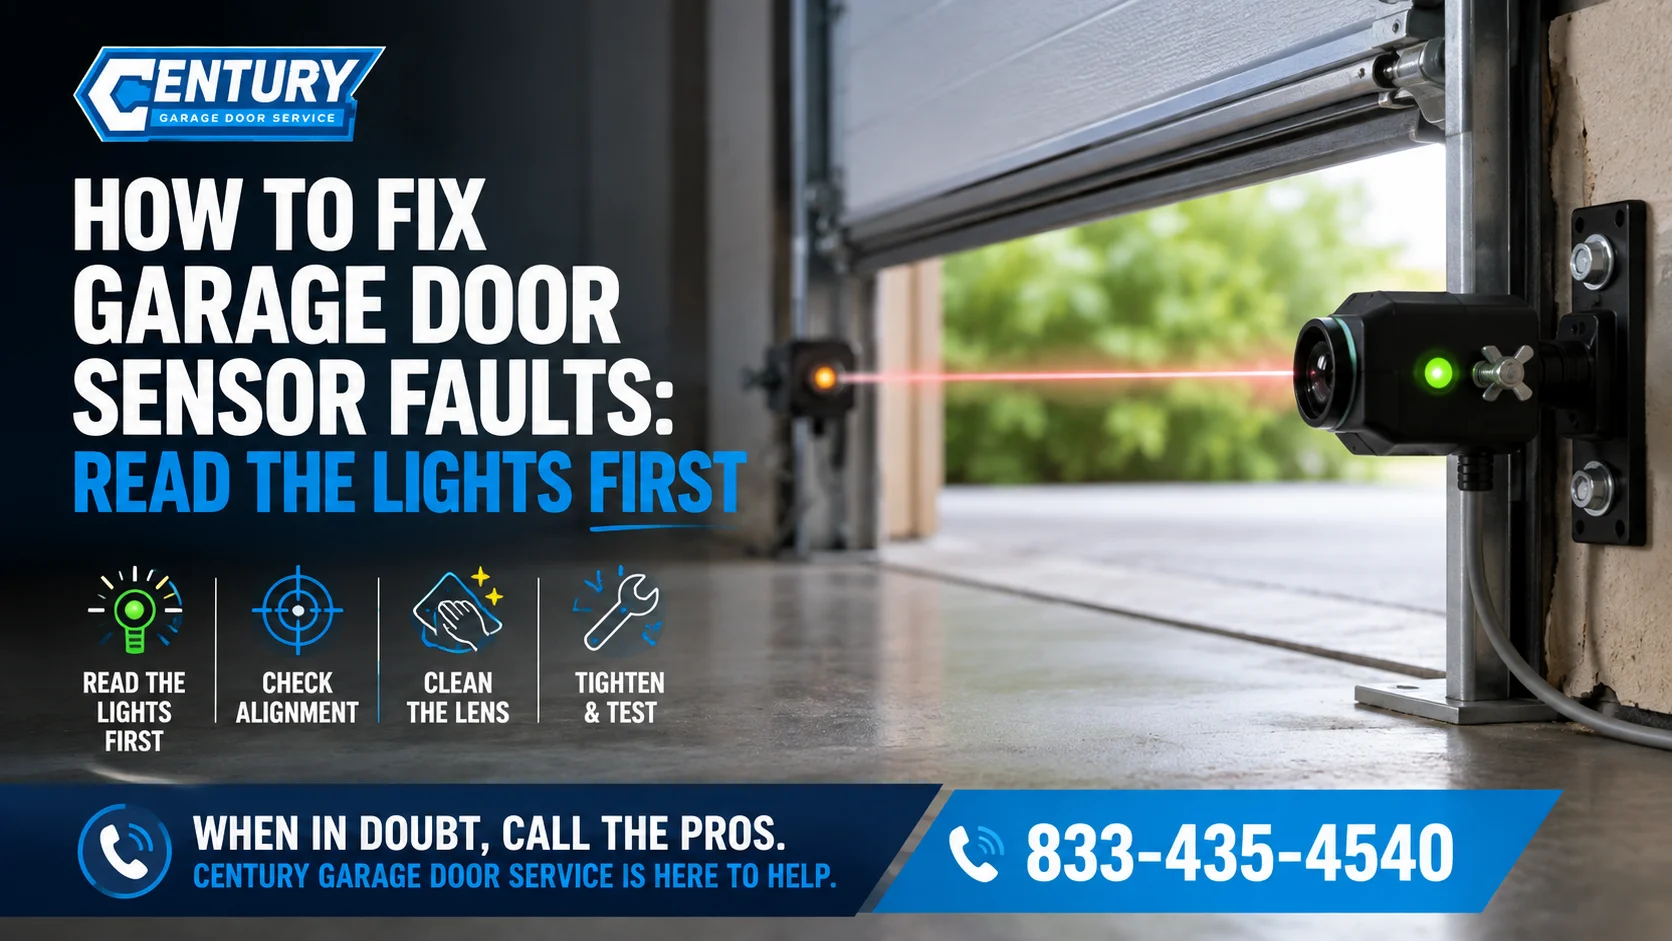
Most garage door sensor faults trace back to a dirty lens or a bracket knocked out of aim, and both get sorted from a crouch with a rag and a wrench. The LED beside each lens is the thing that tells you which of those two you are dealing with.
Two units, a single beam strung between them, and a door that cannot make up its mind about closing.
Search results for how to fix garage door sensor problems jump straight to alignment, skipping the step that decides whether alignment is involved at all. The lights are first. Then the aiming routine, the impostors that pass for a misaligned garage door sensor, the wiring faults, and the fork that catches most people.
Table of Contents
How a garage door sensor pair works
Crouch at the bottom of the opening and a small plastic unit turns up low on each side. One is the sender, throwing a beam of infrared light straight across the opening at floor level. The other is the receiver, whose whole job is watching for that beam to land.
Break that beam while the door is on its way down and the door climbs straight back up.
That reversal is the reason the pair exists. Interrupt the light and the opener reads it as something in the opening, so it abandons the close cycle and hauls the door to the top. Beams get no vote on opening, though. So a garage door sensor problem almost never stops a door rising, and a door that won’t go up at all is a spring, a trolley, a dead remote, or opener electrics. Our guide on a garage door wont open door sorts those.
Why the eyes sit six inches off the floor
The pair mounts low deliberately, around six inches above the slab. At that height the beam crosses just above a crawling baby’s back and below a dog’s shoulder, so a child or a pet entering the opening breaks it and the door retreats.
Raise the brackets and you’ve built a tunnel. A toddler passes underneath, the receiver never blinks, and nothing stops the door. If somebody slid your garage door sensor brackets up the track to stop nuisance reversals, that’s a hazard dressed up as a fix. See CPSC consumer information on automatic garage door opener safety (cpsc.gov).
Reading the indicator lights
Both units carry a small LED, and those two lights are the most useful diagnostic on the whole door.
Here’s what catches people. The eyes don’t report the same thing. A sender’s light comes on and stays on whenever the opener has power, because all it confirms is that the unit is transmitting. The receiver’s light carries the real information, since it holds a steady glow only while the beam is landing where it should, and the moment aim is lost it goes dark or flickers while its partner glows on calmly, which is why a homeowner who checks one side walks off convinced the garage door sensor pair is fine.
Colors are all over the map. Some pair green against amber. Others run red on both units, or change color rather than going out at all. Ignore the color and read the behavior instead. Steady, flickering or dark is the whole vocabulary.
| What the lights show | Likely cause | Where to start |
|---|---|---|
| Both steady | Beam landing clean | Eyes fine, so look at travel limits or close force |
| Sender steady, receiver dark | Aim lost, or a blocked lens | Wipe the lens, then realign the receiver |
| Sender steady, receiver flickering | Beam clipping the lens edge, or a parting conductor | Realign, then flex the wire |
| Receiver drops out as the door moves | Wire pinched by the trolley | Follow the run for a staple or chew mark |
| Both dark | No power reaching the pair | Check both screw terminals on the motor unit |
| Both dark, opener light flashing | Conductors crossed or shorted | Recheck which wire sits on which screw |
| Both steady, door still bounces low down | Not the eyes | Down-travel limit or close force, below |
How to fix garage door sensor alignment, six steps
Power stays on, because you need those lights. Keep children and pets well back, and never stand under a door that is still coupled to the opener.
Clear the opening
Bikes, the recycling bin, a coiled hose, flattened boxes against the track. Anything within a few inches of the floor near either eye is a suspect.
Wipe both lenses with a dry cloth
Nothing wet, and no solvent. Brake dust reads as an obstruction before it looks like dirt.
Work out which eye is lying
Dark or flickering is where the job is, and it's usually the receiver.
Loosen the wing nut, don't remove it
Most brackets pinch the sensor body with one wing nut so the unit can pivot. Back it off until the eye swings under thumb pressure.
Sight down the beam path, then tilt slowly
Crouch behind the loose unit and look across at its partner as if aiming a flashlight. Move it in tiny increments, watching the receiving light, and freeze when it holds steady.
Snug it up without moving it, then run the door
Hold the body still with one hand while the other tightens, because the last quarter turn is where good aim gets lost. Cycle the door, then run both tests below.
So that’s how to fix misaligned sensors on garage door openers, and the routine doesn’t change whether a bumper moved the bracket or somebody’s elbow did.
Need a Professional Tune-Up?
Skip the ladder. Our local technicians perform full safety inspections and comprehensive lubrication to keep your system running silently.
What mimics misalignment and isn't
Alignment gets the blame for plenty of garage door sensor trouble it had no hand in. Meet the impostors.
A spider web across the lens. Thin enough to see straight through, dense enough in infrared to kill the beam, and spun again overnight by a spider with no interest whatsoever in your door.
Condensation inside the housing. After a cold night, moisture beads on the inside face of the lens where no cloth reaches. The light flickers, the door reverses, and by midday it works again. Repeat that every damp morning and the seal has failed.
Low winter sun into the receiver. Late afternoon, door open, sun a couple of feet above the horizon and aimed down the driveway. Sunlight is full of infrared, and a washed-out receiver can’t find its own sender in the glare. A small shade or a downward tilt usually answers it.
A bracket that took a hit. Bumpers, bike pedals, wheelbarrow handles, a scooter left leaning on the track. The unit hardly has to shift at all before it loses the beam, and the bracket often looks untouched because it gave at the bend.
Notice how few of those get solved by touching a bracket.
Wiring faults that mimic a dead garage door sensor
Sensor wire is thin low-voltage stuff, two conductors bonded side by side and stapled along the jamb up to the motor unit. Easy to damage. Easy to walk past.
- A staple driven a hair too deep. Whoever fitted it hit a conductor instead of straddling the pair, and the fault took months to surface because the copper only touches when the wire warms and shifts.
- Rodent damage. Mice strip insulation off low wire runs for nesting material, and a chewed pair either goes open circuit or grounds itself on the jamb.
- A corroded splice near the terminals. Where sensor wire meets the two screws on the motor unit, green crust adds resistance the receiver can’t work through. This one flickers rather than dying, so it ends up blamed on bad aim.
- Conductors swapped on the screws. Some pairs care which wire lands where, and reversing them leaves both lights out with the opener flashing at you. Quick to rule out, embarrassing to miss.
Trace the run before you buy anything. A dead garage door sensor light is far more often the wire than the optics. And kill power at the wall before pulling on wire near the powerhead, because the box it lands in belongs to somebody else.
Sensor fault or down-travel limit, told apart
Both of them reverse a door on its way down, so the two get mixed up constantly, and taking this fork correctly is what saves you an afternoon lost to the wrong part.
A beam problem reverses early and unpredictably. Hit the button, the door starts down, and within a foot or two it is back at the top. Sometimes it gets halfway before quitting. The courtesy light usually flashes a repeating pattern, and the receiving eye reads dark or flickering.
A down-travel limit problem reverses right at the floor, every cycle, in the same spot. The door completes its travel, hits the slab, and the motor carries on driving because the limit is set past the floor. Your opener reads that resistance as an obstruction and lifts. Both lights stay steady, and that’s the tell.
Timing plus lights, then. Early and erratic with one dark eye means the beam. Late and repeatable with two steady eyes means the limit or the close force behind it.
Resetting that limit happens on the powerhead and falls outside a garage door sensor repair, since it’s opener work. Describe the reversal point when you call.
Still not sure? The full ordered triage for a door refusing to shut runs step by step in our guide to a garage door wont close door, working outward from the eyes through obstructions, tracks, force settings, and cables.
The two tests that end every garage door sensor job
Don’t skip these. A garage door sensor can look well aimed, hold a steady light, and still fail to stop a door. The only way to learn that is by making it stop one.
Broom handle through the beam. Get the door moving downward, then slide a broom handle across the beam path from the side, keeping your hands well clear. The door should halt and climb straight back up. Any hesitation at all and the pair is protecting nobody.
A flat 2×4 on the floor. Lay a 2×4 flat on the slab under the middle of the door, then close it. The bottom seal meets the wood, so the door has to reverse off it. That checks the contact reversing system.
Pass both and you’re finished. Fail either and it wants a technician before anybody parks under it.
When a garage door sensor needs a technician
One rule outranks everything else here. Never bypass, disconnect, tape over, or otherwise defeat a garage door sensor to force a stubborn door shut. Twisting the conductors together, or aiming one eye at a mirror, gives you a two hundred pound door closing with nothing watching the floor beneath it. That’s the single most dangerous thing a frustrated homeowner does with this system, and the answer is no.
Past the eyes and their wiring, the line is simple. Springs, lift cables, drive gear internals, and main power wiring are all technician work, and cable or spring work lives at garage door spring repair.
Make the call when a unit has died outright, when the wire run needs replacing, when the opener keeps flashing after a clean alignment, or when either of the two tests fails. Century Garage Door Service answers live around the clock on 833-435-4540.
FAQs: garage door sensor faults
Why is one sensor light steady and the other one dark?
Because the two units answer different questions. A sending eye glows the moment it has power, so a lit sender proves nothing. Its partner only settles once the beam strikes its lens, which makes a dark receiver alongside a bright sender the classic garage door sensor misalignment signature.
How high off the floor should the safety eyes be mounted?
Low enough that a small body crossing the opening breaks the beam, which in practice means roughly six inches up from the concrete. Any higher and a crawling child slides underneath without interrupting anything, so the door never learns to stop. Brackets moved up the track defeat the design.
Is it ever safe to bypass the safety eyes to force the door shut?
No, never, and it’s worth being blunt. Taping the eyes face to face, or twisting their wires so the circuit never opens, hands you a heavy door that closes on whatever is under it. If the fault hides then leave the door up and call 833-435-4540.
Is it a sensor fault or a down-travel limit problem?
Note where the door gives up, then read the LEDs. A garage door sensor fault quits high and at no consistent point, with one eye dark or unsettled. A limit fault waits until the door touches concrete, repeats in the same place, and leaves both lights burning steadily.
Why do the eyes work in summer and fail in winter?
Two cold-weather culprits. Moisture condenses on the inner face of a lens overnight, where no amount of wiping touches it, then clears itself once the garage warms. The other is a low afternoon sun throwing enough stray infrared at the receiver that it loses its partner’s signal.
Why does the door only close while I hold the wall button in?
Because a lot of wall consoles will drive the door down under constant pressure while the beam is ignored, so the symptom itself points at a garage door sensor fault rather than at the opener. Don’t let that become the routine, because a button held in is no substitute for a working safety circuit. Start at the receiving eye and its wire run.
How long does a garage door sensor last?
There’s no service interval on the optics, and a pair will often outlive the opener it shipped with. What retires one is an event rather than age, usually a bumper catching the bracket or a lens seal that finally lets damp inside. Wiring gives out on its own schedule too. So wipe both lenses when you sweep, and recheck the aim after anything knocks a bracket.
Get your garage door sensor pair signed off
A door that reverses when it should, and only then, is worth a look. Century Garage Door Service answers live around the clock at 833-435-4540. You get a two-hour arrival window and a text when the truck rolls, plus a written quote before any tool comes out, and if you decline it you owe only the trip fee quoted up front. Trucks carry garage door sensor pairs, brackets, wire, and mounting hardware, so most of these close in one visit with warrantied workmanship. Seniors and military get a standing discount. First responders too. To have the beam, both tests, the springs, and the balance checked in one pass, book a garage door safety inspection.
Table of Contents
Emergency Repair?
Did a loud bang follow a door that won't lift? Don't risk injury. We offer rapid emergency response.